Understanding the AC Compressor Clutch
The AC compressor clutch is a vital component‚ electromagnetically connecting the compressor to the engine’s belt drive‚ enabling cooling when activated by the system’s controls․
Normally‚ the clutch engages when the AC is turned on‚ receiving power from the vehicle’s electrical system through a relay‚ pulling the clutch plate to the compressor pulley․
What is an AC Compressor Clutch?
The AC compressor clutch is an electromagnetic switch responsible for connecting or disconnecting the compressor from the engine’s serpentine belt․ It’s a crucial part of your vehicle’s air conditioning system‚ allowing the compressor to cycle on and off as needed to maintain the desired cabin temperature․ Essentially‚ it acts as a gatekeeper‚ only engaging the compressor when cooling is required‚ saving engine power and fuel․
This clutch consists of a pulley attached to the compressor‚ a clutch plate‚ and an electromagnetic coil․ When energized‚ the coil creates a magnetic field that pulls the clutch plate towards the pulley‚ establishing a firm connection․ This connection spins the compressor‚ initiating the cooling process․ When power is removed‚ a spring pushes the clutch plate away‚ disengaging the compressor․
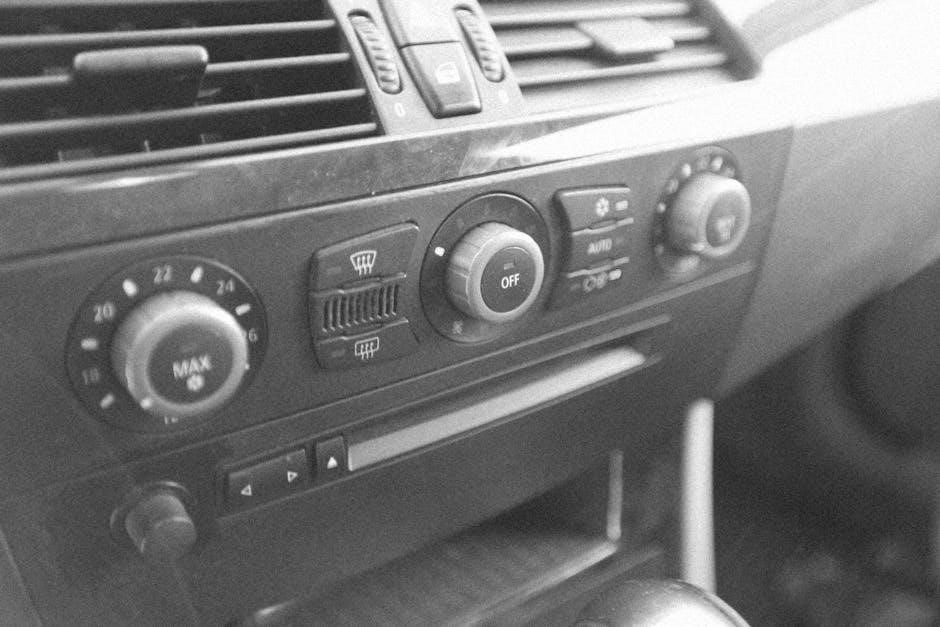
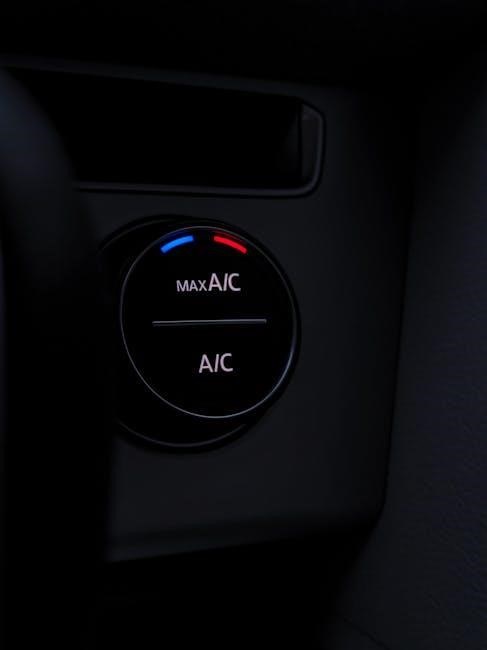
How the Clutch Normally Engages
Under typical operation‚ the AC compressor clutch engages automatically when you switch on the air conditioning in your vehicle․ This process begins with the AC control panel sending a signal to the AC compressor relay․ The relay‚ acting as a switch‚ then provides electrical power to the clutch’s electromagnetic coil․
Once energized‚ this coil generates a magnetic field‚ powerfully attracting the clutch plate towards the compressor pulley․ This forceful connection spins the compressor‚ initiating the refrigerant compression cycle and ultimately delivering cool air into the cabin․ The system is designed to cycle on and off to maintain the set temperature‚ controlled by sensors and the vehicle’s computer․
Safety Precautions Before You Start
Prioritize safety by disconnecting the negative battery terminal to prevent shorts and electrical shock during manual engagement procedures and testing․
Disconnecting the Battery
Before attempting any electrical work on your vehicle’s AC system‚ including manually engaging the compressor clutch‚ disconnecting the negative battery terminal is paramount for safety․ This simple step prevents accidental short circuits that could damage the vehicle’s sensitive electronic components or‚ worse‚ cause personal injury․
Locate the battery‚ typically under the hood‚ but sometimes in the trunk or under a rear seat․ Using a wrench of the correct size (usually 10mm)‚ carefully loosen the nut securing the negative battery cable․ Once loosened‚ gently remove the cable from the battery terminal‚ ensuring it doesn’t accidentally touch the terminal again during your work․ Secure the cable away from the terminal to prevent accidental reconnection․ Remember to have your radio presets and other electronic settings prepared‚ as disconnecting the battery may reset them․
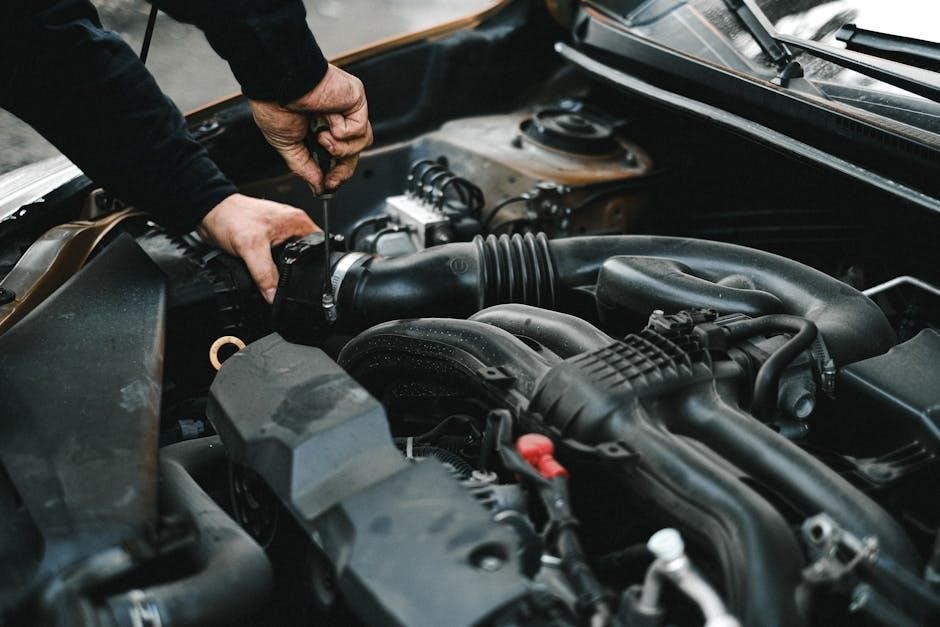
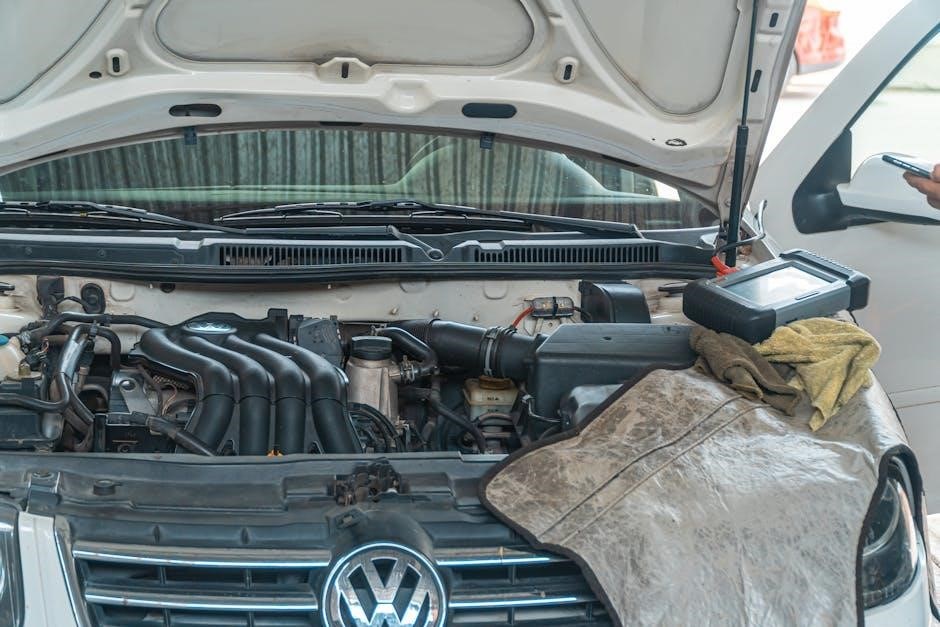
Locating the AC Compressor
Identifying the AC compressor is crucial before attempting any manual engagement procedures․ Typically‚ the compressor is a cylindrical component driven by the serpentine belt‚ positioned near the front of the engine․ It often has two aluminum lines connected to it – a larger‚ lower-pressure line and a smaller‚ higher-pressure line․
Consult your vehicle’s repair manual or online diagrams for the precise location specific to your make and model․ Look for a component with an electromagnetic clutch plate on its front‚ which is what you’ll be directly interacting with․ Be cautious around the moving serpentine belt and hot engine components․ Once located‚ visually inspect the compressor for any obvious damage or leaks before proceeding with any testing or engagement attempts․
Tools You’ll Need
Essential tools include basic wrenches and sockets‚ a multimeter for electrical checks‚ and a jumper wire to temporarily bypass the electrical system․
Basic Hand Tools (Wrenches‚ Sockets)
A comprehensive set of wrenches‚ both open-end and box-end‚ is crucial for accessing and potentially disconnecting components around the AC compressor․ Metric sizes are almost universally required for modern vehicles‚ so ensure your set covers the common ranges․ Sockets‚ along with a ratchet and extensions‚ will be invaluable for removing bolts securing the compressor or related brackets․
Having a variety of socket depths is also beneficial‚ allowing access to recessed fasteners․ Don’t forget a breaker bar for stubborn bolts that may have seized over time․ A screwdriver set (Phillips and flathead) is essential for disconnecting electrical connectors and accessing certain components․ These tools form the foundation for safely and effectively working around the AC system‚ preparing for manual engagement testing and potential repairs․
Multimeter for Electrical Testing

A digital multimeter (DMM) is indispensable for diagnosing electrical issues related to the AC compressor clutch․ It allows you to verify voltage at the clutch connector‚ confirming whether the control circuit is sending power when the AC is activated․ Testing for continuity in the clutch coil helps determine if the coil itself is intact․
You can also check the AC compressor relay for proper operation using the multimeter․ Measuring resistance can reveal open or shorted windings within the clutch assembly․ Accurate readings from the DMM are vital for pinpointing the source of a no-engagement problem‚ whether it’s a lack of power‚ a faulty relay‚ or a damaged clutch coil‚ guiding your troubleshooting steps effectively․
Jumper Wire
A jumper wire serves as a temporary conductor‚ bypassing sections of the electrical circuit to directly supply power to the AC compressor clutch․ This diagnostic technique helps isolate whether the issue lies within the control circuit – the switch‚ relay‚ or wiring – or the clutch itself․ Use a properly insulated‚ appropriately gauged wire to avoid shorts or damage․
Carefully connect the jumper wire from a 12V power source (with appropriate fusing!) to the clutch connector‚ mimicking the signal from the relay․ If the clutch engages‚ the problem is upstream; if it doesn’t‚ the clutch or its internal wiring is likely faulty․ Always exercise caution and disconnect the jumper wire immediately after testing․
Manual Engagement Methods
Direct power application and relay bypassing are key techniques for manually engaging the AC compressor clutch‚ aiding in diagnostics and pinpointing electrical faults․
Direct Power Application (12V)
Applying 12V directly to the AC compressor clutch is a diagnostic step to determine if the clutch itself is functional․ Locate the clutch connector – typically a two-wire plug․ Using a jumper wire connected to the vehicle’s battery positive terminal‚ carefully apply 12V to the clutch connector․
You should hear a distinct ‘click’ as the clutch engages‚ and the compressor pulley should begin to spin with the clutch plate․ Exercise extreme caution; ensure the vehicle is in park or neutral with the parking brake firmly engaged․ Avoid prolonged engagement without the engine running‚ as it can drain the battery․ If the clutch doesn’t engage‚ it suggests a faulty clutch or internal wiring issue‚ requiring further investigation․
Bypassing the Clutch Relay
Bypassing the AC compressor clutch relay is another diagnostic method to isolate the problem․ Locate the AC compressor relay in the vehicle’s fuse box – consult your owner’s manual for its specific location․ Carefully remove the relay․ Using a jumper wire‚ connect the terminals in the relay socket that would normally be connected when the relay is energized․
This effectively sends power directly to the clutch‚ bypassing the relay’s control; If the compressor engages‚ the relay is likely faulty․ Be cautious‚ as this bypasses safety features․ Do not leave the system bypassed for extended periods․ If it still fails to engage‚ the issue lies elsewhere‚ potentially with the clutch itself or wiring․
Troubleshooting During Manual Engagement
Manual engagement helps pinpoint issues; a lack of response suggests a blown fuse or faulty relay‚ while intermittent engagement indicates clutch problems․
No Engagement – Checking the Fuse
If the AC compressor clutch fails to engage even with direct power or bypassing the relay‚ the first step is verifying the integrity of the fuse protecting the AC system’s electrical circuit․ Locate the fuse box – typically under the hood or within the passenger compartment – and consult your vehicle’s owner’s manual to identify the correct fuse․
Visually inspect the fuse for any signs of damage‚ such as a broken filament․ A blown fuse indicates an overload or short circuit within the system․ Replace the fuse with one of the exact same amperage rating; using a higher amperage fuse can cause further damage․ After replacement‚ reattempt manual engagement to see if the clutch now responds․ If the fuse blows immediately again‚ a more significant electrical issue exists‚ requiring professional diagnosis․
No Engagement – Checking the Relay
If the fuse is intact but the clutch still won’t engage‚ suspect the AC compressor clutch relay․ This relay acts as an electrical switch‚ controlling power flow to the clutch․ Locate the relay – often found within the same fuse box as the AC fuse – and consult your vehicle’s wiring diagram to confirm its position․
You can test the relay by swapping it with an identical relay from a less critical system (like the horn)․ If the AC now engages‚ the original relay is faulty and needs replacement․ Alternatively‚ use a multimeter to check for voltage at the relay’s control terminals when the AC is switched on․ Lack of voltage suggests a problem upstream in the control circuit․
Clutch Engages But Doesn’t Stay Engaged
If the clutch momentarily engages when manually activated‚ then disengages‚ it often points to insufficient voltage or a weak clutch coil․ A drop in voltage can occur due to corroded wiring or a failing relay․ Inspect the wiring harness connecting to the compressor clutch for any signs of damage or corrosion‚ cleaning connections as needed․
A weak clutch coil may pull the clutch plate initially‚ but lack the sustained strength to hold it engaged under load․ This typically requires clutch replacement․ Check the gap between the clutch plate and pulley; an incorrect gap can also cause intermittent engagement․ Further diagnosis may require a professional․
Potential Problems & Risks
Manual engagement can damage the clutch or electrical system if done incorrectly‚ potentially leading to compressor failure or short circuits within the vehicle․
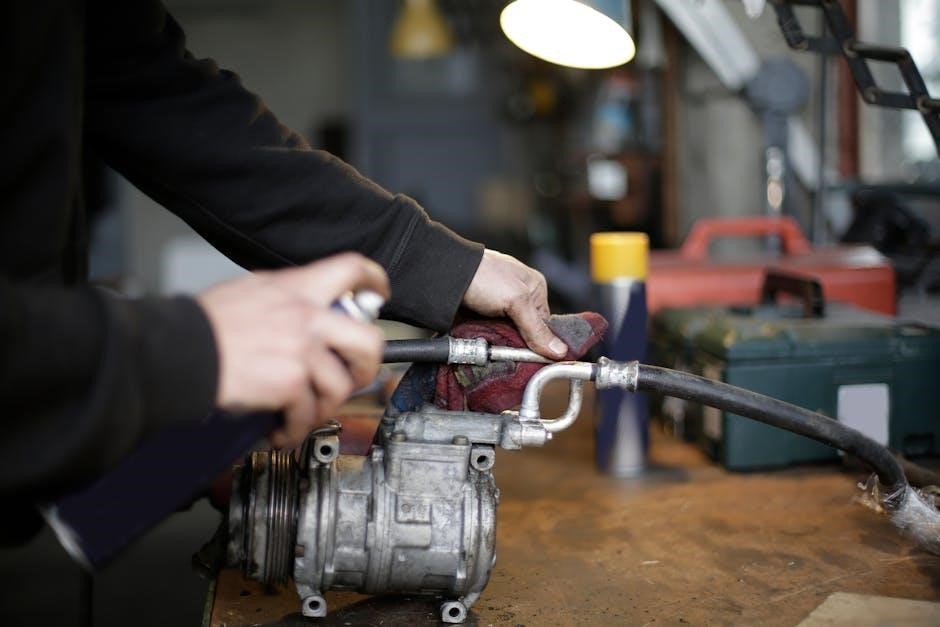
Damage to the Clutch
Directly applying 12V to the AC compressor clutch‚ while seemingly straightforward‚ carries significant risks of causing physical damage․ The clutch isn’t designed for prolonged‚ unregulated power․ Continuous engagement without proper lubrication or the system’s control can overheat the clutch coil‚ leading to burnt windings and complete failure․
Furthermore‚ forcing engagement when internal compressor components are already compromised – perhaps due to low refrigerant or mechanical wear – can exacerbate the problem․ The clutch plate might slip excessively‚ wearing down the friction material rapidly․ Repeated manual engagement under such conditions can ultimately result in a seized compressor‚ necessitating a costly replacement․ Always prioritize diagnosing the root cause before attempting any manual override․
Electrical System Issues
Bypassing the AC clutch relay or directly powering the compressor can reveal underlying electrical problems‚ but also create them if not done cautiously․ A weak or failing power source can cause voltage drops‚ potentially damaging sensitive electronic components within the AC control module․ Incorrect wiring during manual engagement attempts could short-circuit the system‚ blowing fuses or even damaging the vehicle’s main wiring harness․
Moreover‚ repeatedly overriding the system’s safety features might mask a deeper issue‚ like a faulty pressure switch or temperature sensor‚ preventing proper diagnosis․ Always verify the integrity of the electrical circuit before applying power‚ and be prepared for potential cascading failures if the underlying problem isn’t addressed․

Post-Engagement Checks

After manual engagement‚ confirm the compressor is cycling correctly and listen for unusual noises; then‚ verify proper AC system pressure with gauges․
Confirming Compressor Operation
Following manual engagement‚ visually inspect the compressor clutch to ensure it’s consistently cycling on and off․ A steady “click” sound indicates proper engagement and disengagement as the system regulates temperature․ Listen carefully for any unusual grinding‚ squealing‚ or rattling noises emanating from the compressor itself‚ as these could signal internal damage or a failing bearing․
Feel for a slight pulsation in the AC lines – this indicates the compressor is actively pumping refrigerant; Use a thermometer to measure the temperature of the air exiting the vents; a noticeable drop in temperature confirms the system is cooling․ If the compressor engages but there’s no cold air‚ further diagnostics are needed to pinpoint the issue‚ potentially involving a blockage or low refrigerant levels․
Checking AC System Pressure
After manually engaging the compressor and confirming its operation‚ verifying AC system pressure is crucial․ Attach a manifold gauge set to the high and low-side service ports‚ following the manufacturer’s specifications for proper connection․ Observe the pressure readings while the compressor is running; pressures outside the recommended range indicate a problem․
Low pressure could signify a refrigerant leak‚ while excessively high pressure might point to a blockage in the system or a faulty expansion valve․ Always consult the vehicle’s service manual for the correct pressure ranges for your specific model year and engine type․ Improper pressure can lead to compressor damage or inefficient cooling performance․
When to Seek Professional Help
Complex electrical faults or suspected compressor damage require a qualified technician’s expertise for accurate diagnosis and safe‚ effective repairs․
Complex Electrical Issues
If manual engagement attempts reveal inconsistent behavior‚ or if you encounter difficulties tracing the electrical circuit‚ professional assistance is crucial․ Modern vehicles feature intricate wiring harnesses and control modules that demand specialized diagnostic tools and knowledge․ Issues could stem from a faulty pressure switch‚ a problematic thermistor‚ or even a deeper problem within the vehicle’s body control module (BCM)․
Attempting to resolve these issues without proper training can lead to further damage‚ potentially affecting other electrical systems․ A skilled technician can accurately pinpoint the source of the problem‚ utilizing scan tools to read diagnostic trouble codes and perform comprehensive electrical tests‚ ensuring a safe and reliable repair․
Suspected Compressor Damage
Manually engaging the clutch and hearing unusual noises – grinding‚ squealing‚ or rattling – strongly suggests internal compressor damage․ Continuing to operate a failing compressor can cause debris to circulate through the AC system‚ contaminating the condenser‚ evaporator‚ and expansion valve‚ leading to costly repairs․ Even if the clutch engages‚ a damaged compressor won’t effectively pump refrigerant‚ resulting in inadequate cooling․
Furthermore‚ forcing a damaged compressor to run can exacerbate the internal failure‚ potentially causing a complete seizure․ A professional diagnosis is essential to assess the compressor’s condition and determine if replacement is necessary‚ alongside a thorough system flush to remove any contaminants․