
Sourdough Schedule PDF: A Comprehensive Guide
A printable sourdough schedule PDF offers bakers a practical timeline for organization‚ enhancing flavor‚ texture‚ and quality. It’s a valuable tool for consistent results!
Understanding the Importance of a Sourdough Schedule
Sourdough baking thrives on predictability‚ and a well-defined schedule is paramount to success. By following a schedule‚ bakers gain control over fermentation‚ directly impacting the final bread’s flavor and texture. A sourdough schedule PDF provides a clear‚ printable timeline‚ easily referenced during each stage – from starter feeding to proofing and baking.
Without a schedule‚ variables like temperature and starter activity can lead to inconsistent results. A schedule isn’t rigid; it’s a guide‚ allowing for observational adjustments. It helps track time and temperature‚ crucial for understanding how your starter and dough behave. Ultimately‚ a schedule transforms sourdough from a guessing game into a rewarding‚ repeatable process‚ leading to consistently excellent loaves;
Benefits of Using a Printable Sourdough Schedule PDF
A printable sourdough schedule PDF streamlines the baking process‚ offering numerous advantages. Its primary benefit is organization – a clear timeline keeps each step on track‚ minimizing errors and maximizing consistency. Having a physical copy readily available eliminates the need to constantly check digital devices‚ keeping your hands free for baking.
Furthermore‚ a PDF allows for personalized notes and adjustments. You can record temperature variations‚ starter activity observations‚ and resulting dough characteristics directly on the schedule. This creates a valuable baking journal‚ improving future results. It’s a practical‚ accessible tool for both novice and experienced bakers seeking to refine their sourdough technique and achieve perfect loaves every time.

Essential Components of a Sourdough Baking Schedule
Key elements include starter management‚ recipe scaling‚ autolyse‚ bulk fermentation‚ shaping‚ proofing‚ and utilizing worksheets to track time‚ temperature‚ and observations.
Starter Management & Feeding Schedule
Maintaining a vigorous starter is foundational to successful sourdough baking. A consistent feeding schedule is crucial‚ especially during initial development. Days 1-5 involve frequent feedings and discarding to cultivate activity. Begin by mixing 50 grams of flour and water‚ discarding excess before each feed.
Regular discarding prevents excessive acidity and ensures a healthy culture. Observe your starter closely; it should double in size after feeding. The “float test” – dropping a teaspoon into water – indicates readiness when it floats.
Repeat this feeding schedule for days 2-5 before utilizing the starter in a recipe. Don’t hesitate to adjust based on your kitchen’s temperature and the starter’s response. A well-managed starter is the heart of flavorful sourdough!
Days 1-5: Initial Feeding & Discarding
The first five days are critical for establishing a lively sourdough starter. Begin with a simple mix of 50 grams of flour and 50 grams of water in a clean jar. This initial inoculation kickstarts fermentation. Crucially‚ discard a portion of the starter before each subsequent feeding. This prevents overgrowth and maintains a manageable volume.
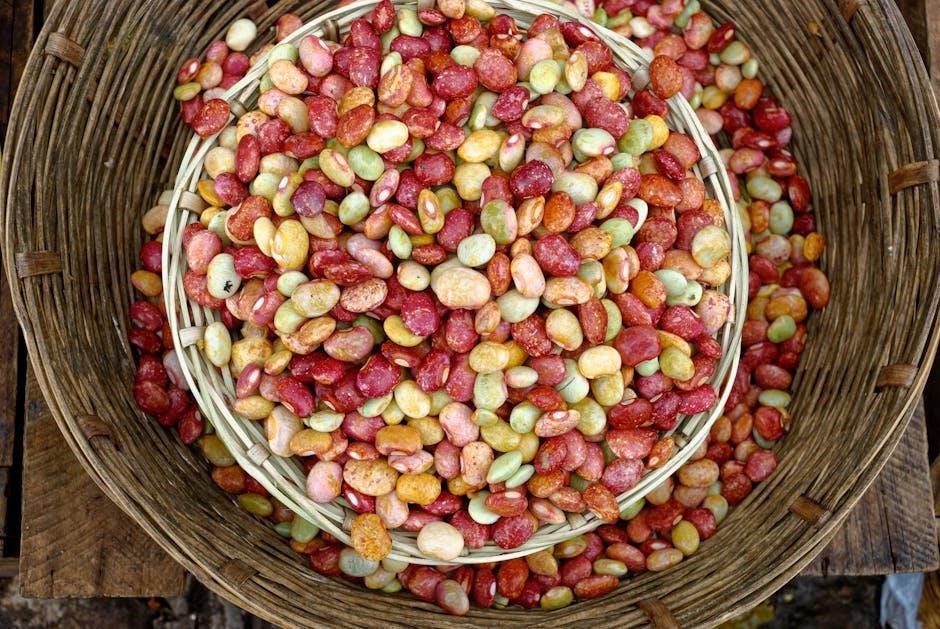
Discarding isn’t wasteful! Utilize it in pancakes‚ waffles‚ or crackers. Consistent discarding and feeding – typically every 24 hours – encourages beneficial bacteria and yeast to thrive. Observe for bubbles and a slight increase in volume‚ signs of activity.
This process builds strength and predictability‚ setting the stage for consistent baking results.
Assessing Starter Readiness (Float Test)
Determining if your starter is active enough for baking is simple: perform the float test. Gently drop about a teaspoon of starter into a glass of room temperature water. If it floats‚ it’s generally ready to leaven bread‚ indicating sufficient gas production from the yeast.
A sinking starter means it needs more time and consistent feedings. Continue the regular discard and feed cycle – typically 50g starter‚ 50g flour‚ and 50g water – until it reliably floats.
This test isn’t foolproof‚ but it’s a quick and reliable indicator of activity. Remember‚ starter behavior can vary with temperature‚ so observe for consistent doubling in size as well.
Recipe Scaling & Worksheet Utilization
Successfully adapting sourdough recipes often requires scaling ingredients to achieve desired loaf sizes. Utilizing spreadsheets simplifies this process‚ allowing bakers to easily adjust quantities while maintaining proper hydration and ratios.
Worksheets are invaluable for tracking ingredient weights‚ especially when aiming for a specific total dough weight – a target of 1970g is often recommended. These printable forms provide space for noting times‚ temperatures‚ and observational details throughout the baking process.
Downloadable resources‚ like Mike’s Sourdough Conversion Worksheets‚ offer pre-built templates and helpful guides for scaling and recording your baking journey.
Using Spreadsheets for Recipe Adjustments
Spreadsheets are powerful tools for accurately scaling sourdough recipes. By inputting your original recipe‚ you can easily calculate new ingredient amounts based on a desired batch size or hydration percentage. This ensures consistent results and prevents errors in measurement.
Save your customized spreadsheets with the recipe name for future use‚ creating a personalized baking library. These digital records streamline the scaling process‚ eliminating the need for repeated calculations.
Utilize formulas within the spreadsheet to automatically adjust ingredient weights‚ maintaining the correct proportions for a successful bake. This method offers precision and efficiency.
Tracking Ingredient Weights (Target: 1970g)
Precise ingredient measurement is crucial for sourdough success. Maintaining a total dough weight of approximately 1970 grams (note: correction from an initial 2020g) ensures proper hydration and gluten development. Detailed tracking‚ using a baker’s worksheet or spreadsheet‚ is highly recommended.
Record each ingredient’s weight – flour‚ water‚ starter‚ and salt – to maintain consistency between batches. This allows for easy replication of successful loaves and identification of potential issues.
A printable worksheet provides dedicated space for noting these weights‚ alongside time and temperature observations‚ creating a comprehensive baking log.
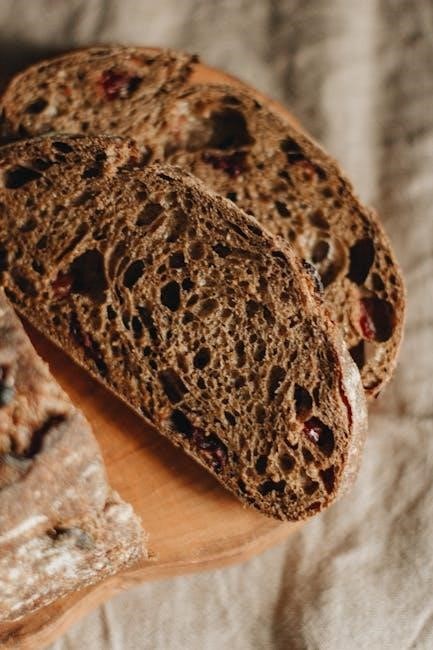
Detailed Sourdough Baking Schedule Breakdown
A well-defined schedule‚ encompassing autolyse‚ bulk fermentation‚ shaping‚ and proofing‚ is essential for optimal sourdough development and a predictably delicious loaf.
Phase 1: Autolyse (Initial Hydration)
The autolyse phase is a crucial initial step in sourdough baking‚ involving simply mixing the flour and water and allowing it to rest; This period‚ before adding the starter and salt‚ allows the flour to fully hydrate.
This process initiates enzyme activity‚ developing gluten strength and extensibility naturally‚ resulting in a more open crumb and improved dough handling. The duration can vary‚ but typically ranges from 30 minutes to several hours‚ depending on the flour type and desired outcome.
During autolyse‚ the dough will become smoother and more pliable. It’s a passive step‚ requiring no kneading‚ and sets the foundation for successful fermentation and a superior final product. It’s a simple technique with significant benefits!
Phase 2: Bulk Fermentation
Bulk fermentation is where the magic truly happens‚ following the autolyse stage. This is the primary fermentation period where the sourdough starter actively works its wonders‚ developing flavor and structure. It involves a series of folds‚ typically every 30-60 minutes‚ to build strength and even out temperature.
Temperature & Time Considerations: The duration of bulk fermentation is heavily influenced by temperature; warmer temperatures accelerate the process‚ while cooler temperatures slow it down. Observational skills are key – look for a 30-50% increase in volume.
Observational Notes: Monitor for bubbles‚ a domed shape‚ and a slightly jiggly texture. Careful observation during this phase is vital for achieving the desired results.
Temperature & Time Considerations
Temperature plays a crucial role during bulk fermentation‚ significantly impacting the speed of yeast activity. Warmer environments (around 75-80°F / 24-27°C) will accelerate fermentation‚ potentially shortening the bulk ferment time to 4-6 hours. Conversely‚ cooler temperatures (68-72°F / 20-22°C) will slow it down‚ extending the process to 6-12 hours or even longer.
Time is not fixed; it’s a guideline. Experienced bakers adjust based on dough behavior. Consistent monitoring and understanding how temperature affects your starter are essential for successful sourdough baking. Adjust timings accordingly to achieve optimal results.
Observational Notes During Bulk Fermentation
Careful observation is key during bulk fermentation. Look for a roughly 50% increase in dough volume‚ but don’t rely solely on this. Observe the dough’s texture – it should become bubbly and airy. Note the presence of visible gas pockets and a slightly jiggly consistency.
Record your observations on your baking worksheet! Pay attention to the dough’s strength and elasticity. A well-fermented dough will hold its shape better. Document any changes in aroma; a pleasant‚ slightly acidic scent indicates fermentation is progressing well. These notes will refine your schedule over time.
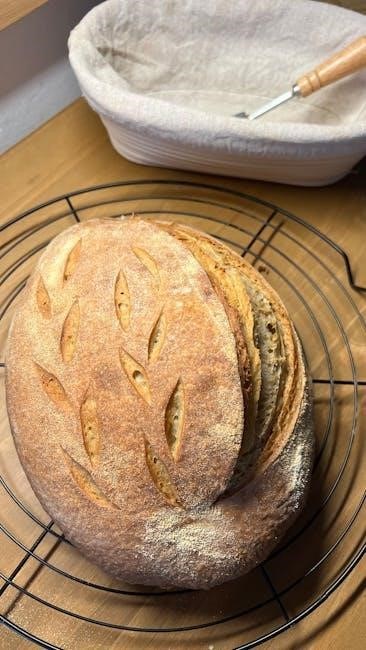
Phase 3: Shaping & Proofing
Shaping establishes tension‚ crucial for oven spring. Gently shape the dough into your desired form – round (boule) or oblong (batard). After shaping‚ begin the proofing process‚ allowing the dough to rest and further develop flavor.
Proofing involves two stages: a room temperature proof followed by cold retardation. The first proofing stage allows for continued fermentation. The second‚ cold retardation (in the refrigerator)‚ slows fermentation‚ enhancing flavor complexity and making scoring easier. Record proofing times on your schedule!
First Proofing Stage
The initial proofing stage‚ conducted at room temperature‚ allows the dough to relax and continue fermenting after shaping. This stage is crucial for developing structure and flavor. Monitor the dough closely; look for signs of increased volume and slight jiggling when the container is gently shaken.
Proofing time varies based on temperature and starter activity. A typical duration ranges from 2 to 6 hours‚ but rely on observation rather than strict timing. Document the start and end times on your sourdough schedule PDF‚ alongside temperature readings and observational notes. This data will refine your future baking!
Second Proofing Stage (Cold Retardation)
Cold retardation‚ or the second proofing stage‚ involves placing the shaped dough in the refrigerator for an extended period – typically overnight‚ or up to 24-72 hours. This slows down fermentation‚ developing complex flavors and improving dough handling. Record the precise time of refrigeration on your sourdough schedule PDF.
This stage offers flexibility‚ allowing bakers to fit baking into their schedules. It also strengthens the dough‚ making scoring easier. Before baking‚ gently remove the dough from the fridge and observe for a slight rise. Note any changes in texture or aroma on your schedule for future reference!
Tools & Resources for Sourdough Baking
Essential tools include scales‚ mixing bowls‚ proofing baskets‚ and scoring knives. Downloadable sourdough schedule PDFs and spreadsheets aid recipe scaling and tracking progress effectively.
Essential Baking Tools & Supplies
Successful sourdough baking relies on having the right tools. A digital kitchen scale is paramount for accurate ingredient measurements‚ especially when scaling recipes using provided worksheets. Quality mixing bowls‚ preferably glass or stainless steel‚ are essential for various stages. Proofing baskets (bannetons) help shape the dough during its final rise‚ imparting a beautiful pattern.
A sharp bread lame or knife is crucial for scoring the loaf before baking‚ controlling expansion and creating artistic designs. Don’t forget a Dutch oven – it traps steam‚ creating a crispy crust. Other helpful items include a dough scraper‚ bench scraper‚ and parchment paper for easy handling. Accessing a well-organized sourdough schedule PDF complements these tools‚ ensuring a streamlined baking process.
Downloadable Sourdough Schedule PDF
Accessing a well-structured sourdough schedule PDF is key to mastering the art of sourdough baking. This downloadable resource provides a clear‚ printable timeline‚ simplifying the process and minimizing guesswork. The PDF typically includes sections for starter management‚ autolyse‚ bulk fermentation‚ shaping‚ proofing‚ and baking.
Many PDFs also incorporate space for noting temperatures‚ times‚ and observational details‚ allowing for personalized adjustments. Look for a PDF that includes a basic baker’s worksheet to record your progress. Utilizing this schedule alongside recipe worksheets‚ especially those designed for scaling (targeting 1970g total ingredient weight)‚ will elevate your baking and ensure consistently delicious results.

Troubleshooting Common Sourdough Issues
Adjust your schedule based on environmental factors and starter activity; observe fermentation closely for optimal results and consistent‚ high-quality sourdough loaves.
Adjusting for Environmental Factors
Sourdough fermentation is deeply impacted by temperature. Warmer environments accelerate activity‚ potentially shortening bulk fermentation and proofing times. Conversely‚ cooler temperatures slow things down‚ requiring longer schedules. Monitor your dough’s progress closely‚ rather than rigidly adhering to a fixed timeline.
Humidity also plays a role; drier conditions might necessitate slightly increased hydration in your dough. Pay attention to how your starter behaves – is it rising predictably? Is the dough exhibiting expected signs of fermentation?
Adjust feeding schedules for your starter based on ambient temperature. A warmer kitchen means more frequent feedings‚ while a cooler one allows for less. Flexibility is key to successful sourdough baking‚ adapting to your unique environment.
Interpreting Starter Activity
Understanding your starter’s behavior is crucial. A “float test” – dropping a teaspoon into water – indicates readiness if it floats‚ signifying sufficient gas production. However‚ this isn’t foolproof; observe for a consistent doubling in size after feeding‚ a bubbly texture‚ and a slightly tangy aroma.
Slow activity suggests the starter is cold or needs more frequent feedings. Conversely‚ overly rapid rise might indicate overfeeding or a too-warm environment. Consistent observation helps you tailor your feeding schedule.
Note the time it takes to peak after feeding. This peak indicates optimal leavening power. Use this information to synchronize with your baking schedule‚ ensuring a lively and effective starter for your dough.
Advanced Sourdough Techniques
Scaling recipes and utilizing discard expands your baking possibilities‚ reducing waste and allowing for larger batches with calculated adjustments for optimal results.
Scaling Recipes for Larger Batches
Successfully scaling sourdough recipes requires precise calculations to maintain the hydration and fermentation balance crucial for a quality loaf. Spreadsheets become invaluable tools for this process‚ allowing bakers to easily adjust ingredient weights proportionally. The provided resources include conversion worksheets designed to simplify scaling‚ enabling you to confidently increase batch sizes.
Remember to input your original recipe details into the spreadsheet and save it under the recipe’s name for future reference. Maintaining accurate ingredient ratios is paramount; a slight imbalance can significantly impact the final product. Utilizing these tools ensures consistent results‚ even when producing larger quantities of sourdough bread to meet demand or for sharing.
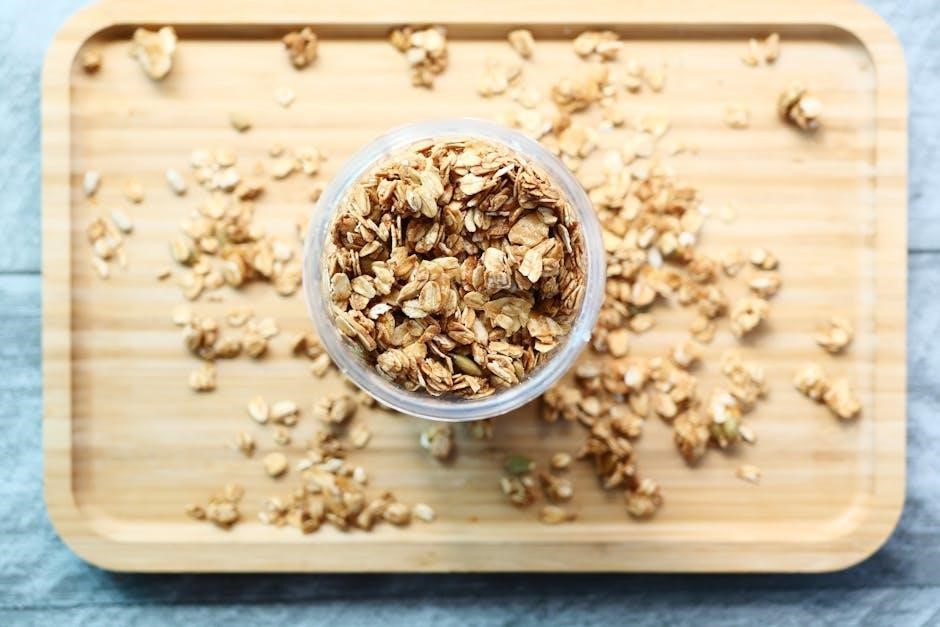
Utilizing Discard in Other Recipes
Sourdough discard‚ often a byproduct of maintaining a healthy starter‚ is a versatile ingredient with numerous culinary applications beyond the compost bin. Instead of discarding it‚ embrace its tangy flavor and unique texture by incorporating it into a wide array of recipes. Pancakes‚ waffles‚ crackers‚ and even cakes benefit from the subtle complexity sourdough discard imparts.
This practice minimizes waste and maximizes the value of your starter. Numerous online resources offer dedicated sourdough discard recipes‚ providing inspiration and guidance. Don’t hesitate to experiment and discover new ways to utilize this often-overlooked ingredient‚ transforming it from a discard into a delicious addition to your baking repertoire.