Choosing the Right Shank Ham
Opt for a bone-in shank ham for rich flavor or boneless for convenience. Select size based on servings needed, ensuring ample meat for your gathering.
1.1 Types of Shank Ham
Shank ham is available in various forms, including bone-in, boneless, and half shank. Bone-in hams offer richer flavor, while boneless options are more convenient. Half shank hams are ideal for smaller gatherings. Consider the size and preference when selecting, as larger hams may require longer cooking times. Each type ensures tender meat and a delicious finish, perfect for oven roasting or slow cooking methods.
1.2 Bone-In vs. Boneless Ham
Bone-in hams provide superior flavor and texture, as the bone enhances moisture and taste during cooking. Boneless hams are leaner and easier to carve, making them a practical choice. Opt for bone-in if you prefer a traditional, juicy ham, or boneless for convenience and uniform slices. Both options yield delicious results, so choose based on your preference for flavor or ease of preparation.
1.3 Size Considerations for Cooking
Ham size significantly impacts cooking time and method. A smaller ham (5-7 lbs) cooks faster, while larger ones (10-14 lbs) require more time. Cooking time averages 10-15 minutes per pound at 325°F. Thawing time varies from 2-7 days in the fridge, depending on size. Ensure the ham fits comfortably in your cooking vessel, allowing space for even heat circulation. Proper sizing ensures the ham cooks evenly and remains juicy, avoiding overcooking or undercooking. Always consider serving needs and cooking capacity when selecting size.
Preparation Steps
Thaw the ham in the fridge or cold water. Soak smaller joints for 8-24 hours. Score the fat layer for even glazing and moisture retention during cooking.
2.1 Soaking the Ham
Soaking the ham is essential for tenderization, especially for larger cuts. Allow 8-24 hours, depending on size, keeping it cold. This step ensures even cooking and prevents drying, enhancing flavor absorption. Proper soaking helps maintain moisture, making the ham juicy and flavorful when cooked. Always use a covered container and refrigerate during soaking to avoid contamination and spoilage. This preparatory step is crucial for achieving the best results in your final dish.
2.2 Thawing and Bringing
Thawing the ham is crucial for even cooking. Place it in the refrigerator or submerge in cold water, changing water every 30 minutes. For a bone-in shank ham, thawing may take several days. Once thawed, bringing involves submerging the ham in a saltwater brine to enhance flavor and moisture. This step ensures the ham stays juicy and develops a rich taste. Proper thawing and bringing are key to achieving a perfectly cooked, flavorful shank ham.
Oven Cooking Method
Preheat oven to 325°F. Place ham fat side up, cover with foil, and bake until caramelized. Baste with pan juices for moisture and flavor.
3.1 Cooking Temperature and Time
Preheat your oven to 325°F (165°C). Place the ham fat side up in a roasting pan, ensuring it fits comfortably. Cook for 15-20 minutes per pound, or until the internal temperature reaches 140°F (60°C). Tent with foil if the ham starts to brown too quickly. Let it rest for 15-20 minutes before slicing to retain juices. Use a meat thermometer for accuracy, and ensure even cooking throughout the ham.
3.2 Glazing Techniques in the Oven
Glaze the ham during the last 20-30 minutes of cooking to avoid burning. Mix brown sugar, mustard, and spices for a sweet, sticky topping. Apply evenly with a brush, ensuring full coverage. For a caramelized crust, baste the ham with the glaze every 10 minutes. If using a fruit glaze, like pineapple or cherry, add it toward the end to prevent excessive sweetness; Monitor the ham’s temperature to ensure it doesn’t overcook while glazing.

Slow Cooker Method
Place the ham in a slow cooker, add your preferred liquid, such as cider or pineapple juice, and sprinkle with spices. Cook on low for 4-6 hours until the internal temperature reaches 160°F for safety.
4.1 Liquid and Spice Additions
Add flavor to your shank ham by incorporating liquid such as apple cider, pineapple juice, or broth. Spice additions like cinnamon sticks, star anise, cloves, and bay leaves enhance aroma. For a sweeter touch, mix in brown sugar or maple syrup. These ingredients simmer alongside the ham, infusing it with rich, complex flavors. The slow cooker method ensures the ham stays moist while absorbing the delicious flavors of the liquid and spices over several hours of cooking.
Internal Temperature Guidelines
Cook the shank ham until it reaches an internal temperature of 160°F for partial cooking or 140°F for fully cooked, ensuring food safety and optimal tenderness.
5.1 Temperatures for Safety
Ensure the internal temperature reaches 160°F for partially cooked hams and 140°F for fully cooked ones. Always use a food thermometer to confirm safety. Proper heating prevents foodborne illness. Avoid undercooking, especially near the bone. Once heated, let the ham rest briefly before serving for even distribution of juices and safe consumption. Never skip this step to ensure a safe and enjoyable meal.
Alternative Cooking Methods
Explore grilling for a smoky flavor and pan-frying for a crispy texture, adding unique twists to your shank ham preparation beyond traditional oven or slow cooker methods.
6.1 Grilling the Ham
Grilling adds a smoky, caramelized crust to your shank ham. Preheat the grill to medium-low heat, ensuring indirect grilling. Place the ham fat side up, away from direct flames. Use a thermometer to maintain 325°F. Baste occasionally with glaze or juices for moisture. Cook for about 20 minutes per pound, or until the internal temperature reaches 140°F. Let rest before slicing to retain juiciness and flavor.
6.2 Pan-Frying for Crispiness
Pan-frying is ideal for achieving a crispy exterior while keeping the ham juicy. Slice the ham thinly and heat a skillet over medium heat. Add a small amount of oil or butter, then sear the ham slices for 2-3 minutes per side until golden brown. For extra crispiness, pat dry with paper towels before frying. Serve immediately for the best texture and presentation. This method is perfect for smaller portions or adding a crunchy finish to pre-cooked ham.
Serving Suggestions
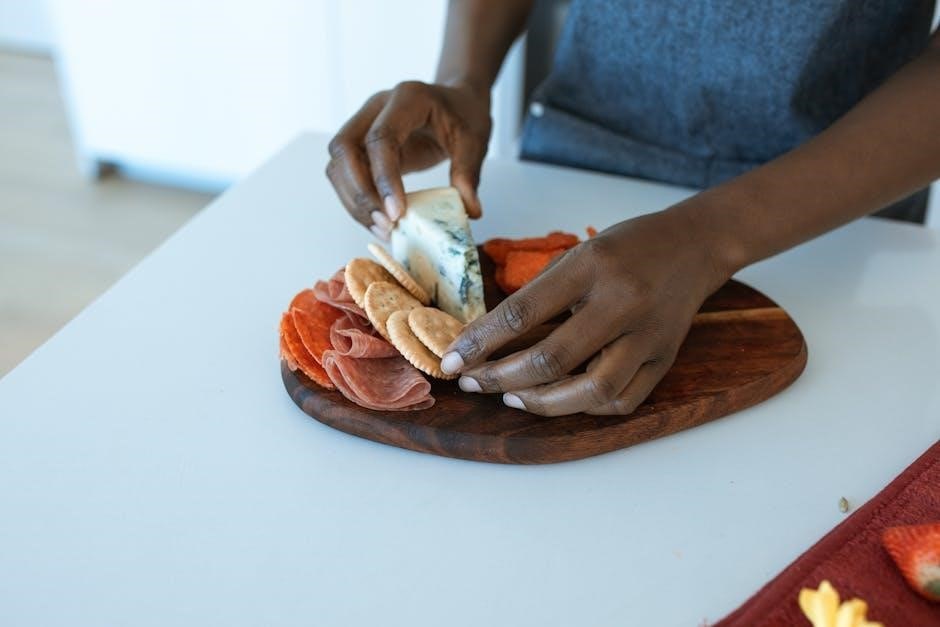
Shank ham is delicious served with pineapple, cherries, or a sweet glaze. Pair with roasted vegetables, mashed potatoes, or bread for a hearty meal. Add a side of mustard or spices for extra flavor.

7.1 Slicing Techniques
For optimal flavor and presentation, slice the ham thinly against the grain. Use a sharp knife to carve even pieces, starting from the bone outward. For bone-in hams, cut around the bone carefully. Thin slices are ideal for serving with glazes or sauces. Let the ham rest 10-15 minutes before slicing to retain juices. Consider slicing into uniform portions for consistency, and offer extra slices on the side for seconds. This ensures everyone enjoys the tender, flavorful meat. Leftover slices can be repurposed for sandwiches or salads. Always carve with patience for the best results. Serve warm or at room temperature for versatility. Pair with accompanying sides like roasted vegetables or mashed potatoes for a complete meal. Garnish with fresh herbs or a drizzle of glaze for added appeal. Keep the carving station clean and organized to maintain a professional presentation. Allow guests to serve themselves, encouraging a interactive dining experience. Store any uneaten slices promptly to maintain freshness. Consider using a meat slicer for precision, especially for larger gatherings. Always slice on a stable, clean surface to ensure safety and hygiene. By following these slicing techniques, you can elevate your shank ham dish to a memorable centerpiece for any occasion. Letting the ham rest before slicing helps in retaining its juiciness and making it easier to carve. This step is crucial for achieving tender and flavorful results. Finally, ensure all slices are evenly sized for a uniform presentation, enhancing both the visual appeal and the overall dining experience.
7.2 Accompaniments and Pairings
Shank ham pairs perfectly with sweet and savory sides. Try pairing it with roasted vegetables like carrots and Brussels sprouts or mashed potatoes for a hearty meal. A tangy glaze made from pineapple, brown sugar, or Dijon mustard complements the ham’s richness. Serve with crusty bread or rolls to soak up juices. For a festive touch, add caramelized pineapple rings or cherries. Pair with a side of creamy coleslaw or baked beans for contrast. Sparkling cider or a dry wine enhances the dining experience. Let the ham shine with these classic pairings for a memorable feast. Always aim for balance between sweet and savory flavors to elevate the dish. These accompaniments ensure a well-rounded and satisfying meal. Consider adding fresh herbs like parsley or rosemary for garnish, adding a fragrant finish. The key is to complement the ham’s bold flavor without overpowering it, creating a harmonious blend of tastes and textures. By pairing thoughtfully, you can create a meal that delights both the palate and the eye. This approach ensures that every component of the dish contributes to a cohesive and enjoyable dining experience. Finally, remember that the accompaniments should enhance, not overshadow, the star of the meal—the shank ham.
Tips for Success
Always rest the ham before slicing to retain juices. Tent with foil to prevent drying, and monitor internal temperature closely for perfect doneness every time.
8.1 Resting the Ham
Resting the ham after cooking is crucial for retaining juices and tenderness. Tent the ham with foil to prevent drying and let it rest for 10-15 minutes. This allows the internal juices to redistribute evenly, ensuring a moist and flavorful result. Avoid slicing immediately, as this can cause the meat to become dry. Patience during this step guarantees a more enjoyable and tender final dish for your guests to savor.
8.2 Avoiding Overcooking

Avoid overcooking by monitoring the internal temperature, ensuring it reaches 140°F for pre-cooked ham or 160°F for partially cooked. Use a meat thermometer for accuracy. Overcooking dries the ham, so check frequently during the final stages. Tenting with foil during resting helps retain moisture. Pull the ham from heat when it’s just done, as residual heat will continue cooking it slightly. This ensures a tender, juicy texture without dryness.